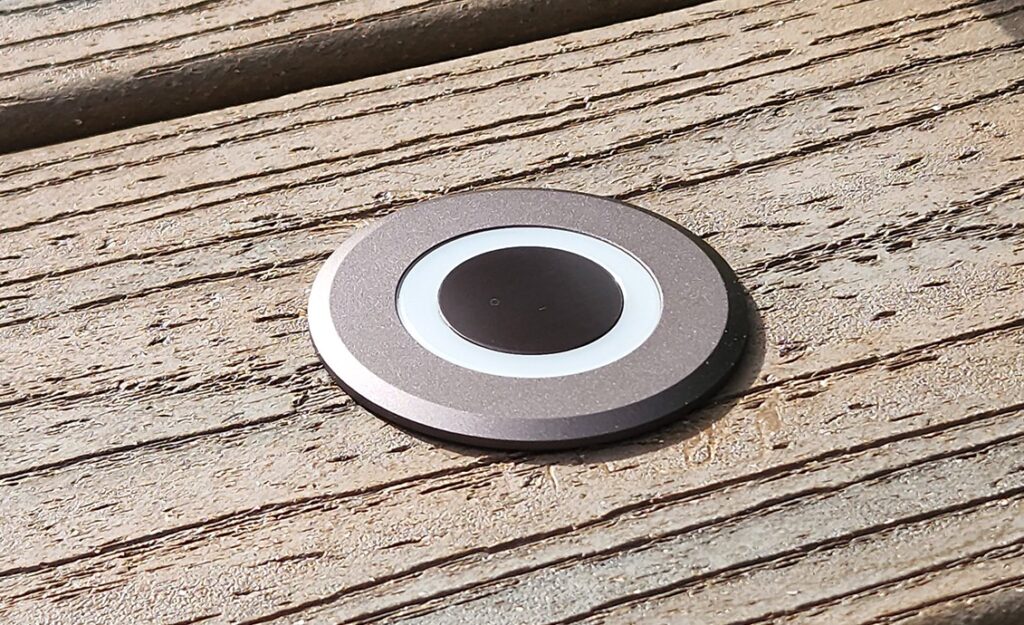
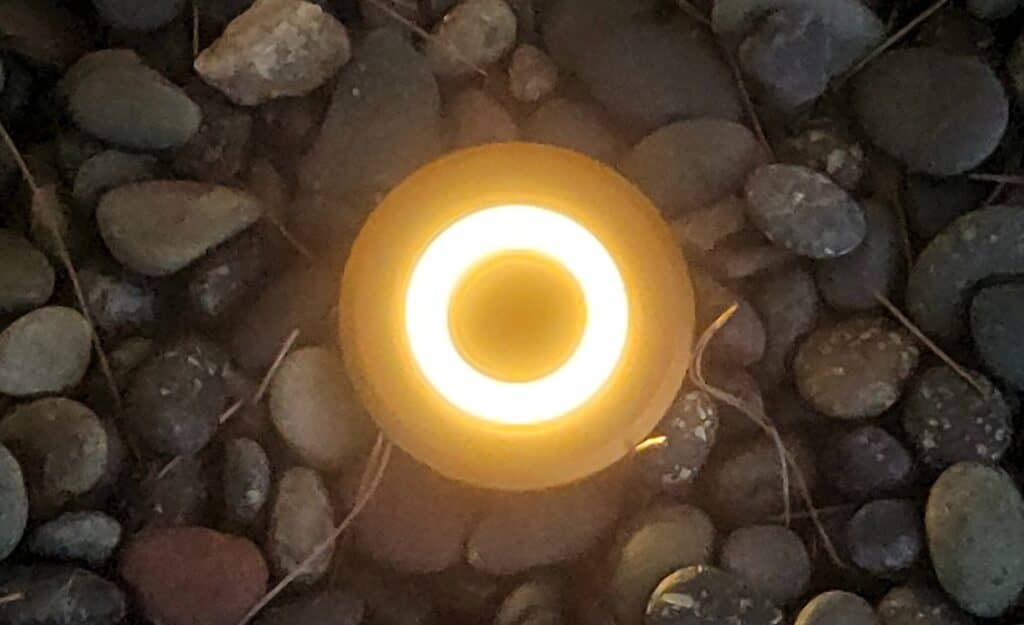
Lumengy Falcon lights comes with 3 mounting plates allowing you endless installation options, weather you need to light steps, walls, retaining walls, eves, or any outdoor down light.
$179.99
| Fixture Color: Brown |
|
97 in stock
| Weight | 6.5 lbs |
|---|---|
| Dimensions | 2.2 × 2.2 × 1.69 in |
| Watts |
1 Watts |
| Quantity |
6 Pack |
| Color Temperature |
2700K |
| Beam Angle |
120° |
| Certification |
UL-Listed |
| Fixture Material |
Aluminum |
| Fixture Color |
Brown |
| LED Type |
COB |
| Transformer |
NOT INCLUDED TRANSFORMER |
| Voltage |
12V-24V AC/DC |
| Waterproof Rating |
IP-67 |
| Warranty |
3-Year Replacement Warranty |
| Brand |
LUMENGY |
You must be logged in to post a review.
1. 12V Transformer (not included)- A low-voltage landscape transformer is required to power these lights. It reduces the standard high-voltage 110V in your home to 12v, an easy-to-use and safe voltage. We recommend using 12V AC transformers,, although our lights can work with 9v-17v AC or DC.
2. Main low-voltage cable (not included) - This cable runs from the transformer to the last light in your line. We suggest using a thick cable, such as 10/2, 12/2, or 14/2 (10/2 is the thickest). Each hardscape light comes with a 10-foot lead wire to connect to the main line. If the lead wire is not long enough, use 16/2 or 14/2 wire to extend it to the main line.
3. Waterproof wire connectors (included) - Use the 2 included waterproof wire connectors to connect the hardscape light's lead wire to the main low-voltage line.


Lumengy Falcon lights comes with 3 mounting plates allowing you endless installation options, weather you need to light steps, walls, retaining walls, eves, or any outdoor down light.
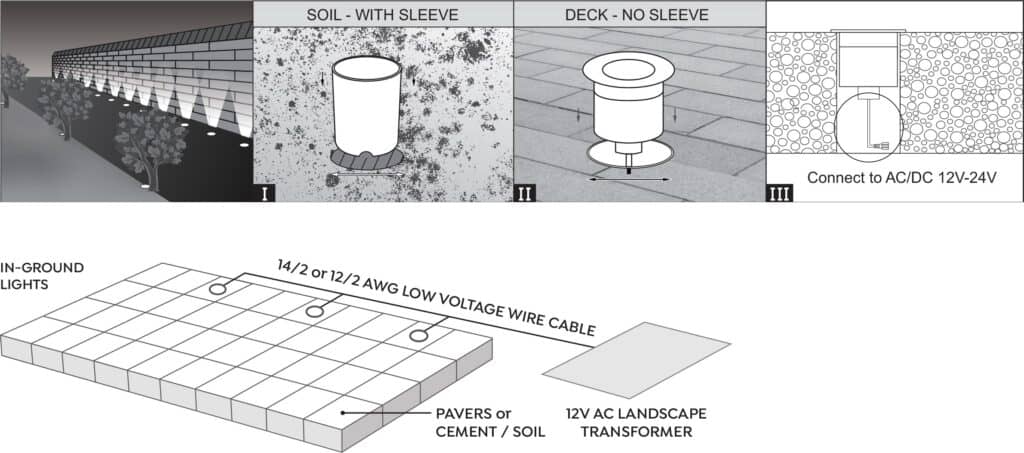
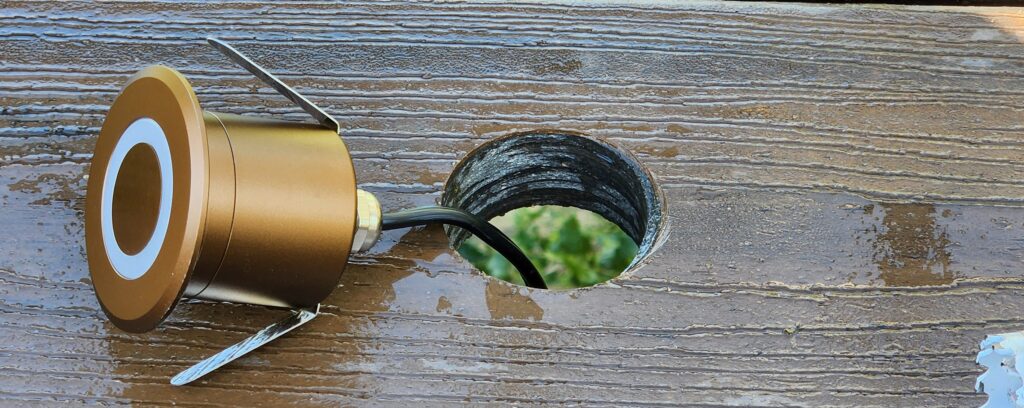
● Recommended to use Lumengy 1W or 4.5W lights with a honeycomb to prevent any glare for people walking by.
● Run the 12V main low voltage line from the transformer to the end of the last light and place the wire along each hole where the light will be installed.
● Each fixture comes with a lead wire (3-6 feet long depending on the model). Connect this lead wire to the main low voltage line with the included waterproof wire connectors.
● Make sure the fixtures are tight and not moving, and add glue or bonding material if necessary.
● Turn on power and check that all lights are working properly.
● Recommended to use any of Lumengy’s in-ground lights, with or without a honeycomb to prevent any glare for people walking by.
● Run the 12V main low voltage line from the transformer to the end of the last light, and place the wire on top of the bedding sand below each paver or below the gravel inside the soil.
● Start installing the pavers and leave the last paver where the light will be installed. Pull out the wire and leave it out.
● Drill a hole inside the paver according to the included PVC sleeve. Insert the paver and wire into the hole.
● Install the PVC sleeve into the hole and connect the lead wire to the fixture.
● Insert the fixture into the sleeve while pushing in the remaining lead wire and the connection.
● Turn on power and check that all lights are working properly.
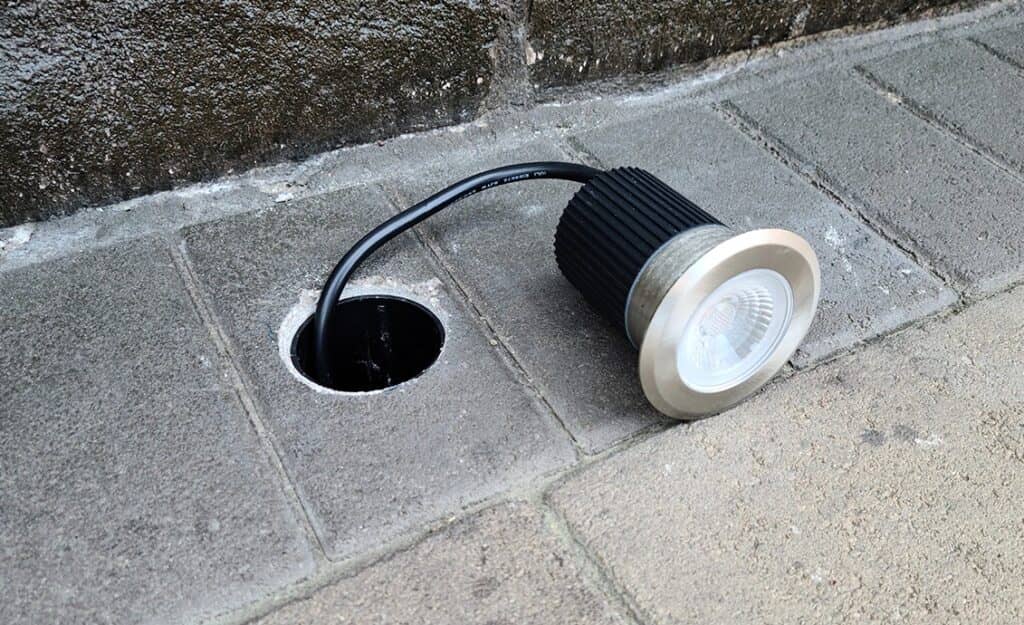
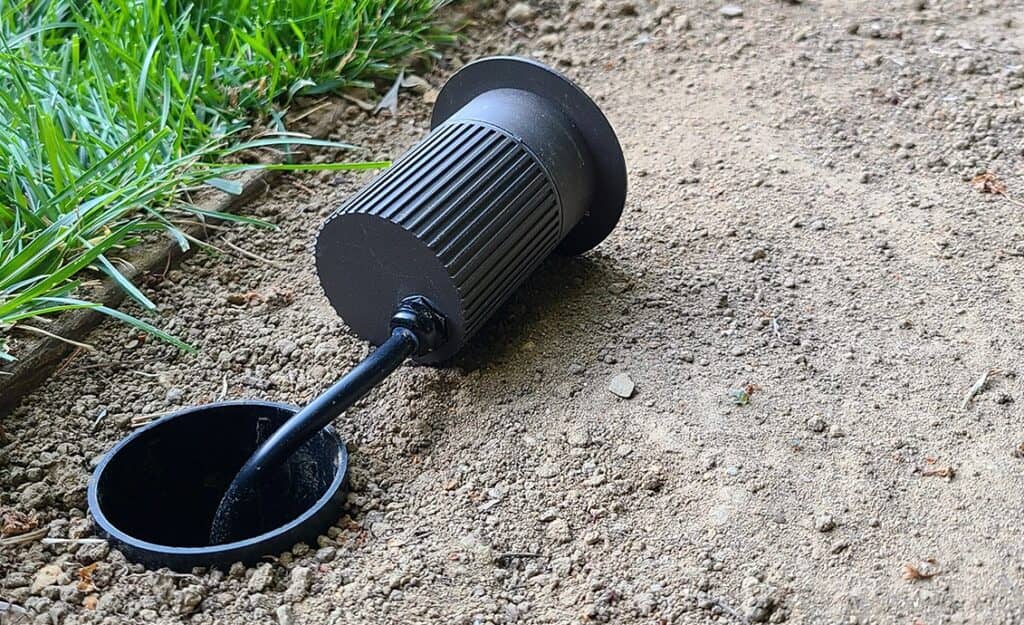
● Plan and determine the location for each fixture before construction.
● Recommended to use any of Lumengy’s in-ground lights, with or without a honeycomb to prevent any glare for people walking by.
● Run the 12V main low voltage line from the transformer to the end of the last light, and place the wire inside the soil.
● Dig a hole and insert the PVC sleeve.
● Connect the fixture lead wire to the main low voltage cable.
● Cover the connection and sleeve around soil till the surface of the light fixture.
● Turn on power and check that all lights are working properly.
● Lumengy lights come with a 3-year warranty and a lifespan of 40,000 hours for years of peace of mind.
● If a light stops working, this design makes it easy to detach the light fixture from the sleeve or deck where it’s inserted.
● To test a non-working light, take a 9V battery and check directly to the 2 wires connected to the fixture. If it’s working, there may be wiring issues or not enough power from the transformer (need more watts). If it’s not working, pull the fixture out of the sleeve or deck, cut the wires, and re place with a new unit.
● Connect the new fixture lead to the existing wire from the main low voltage line and insert the fixture back.
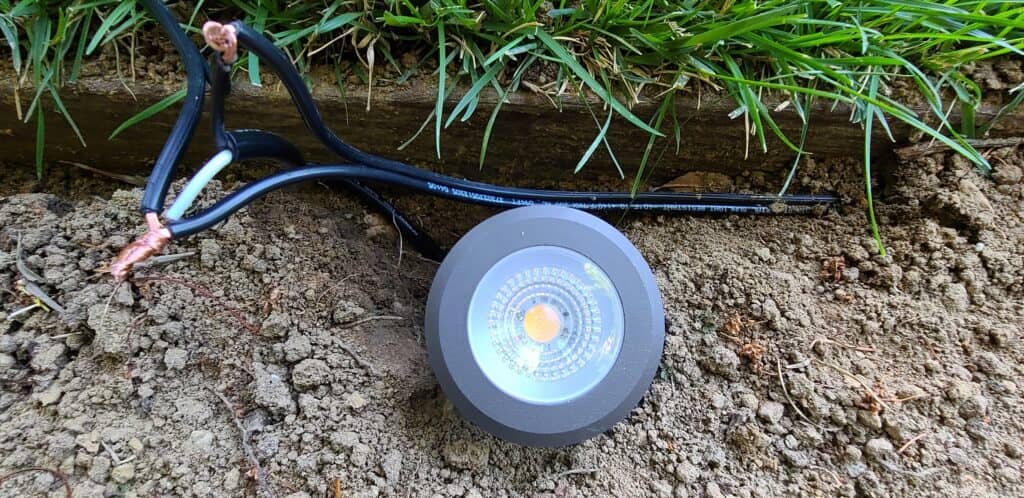
* Remember to always consult an electrician and follow local and NEC codes for electrical safety.

In stock
Be the First to Illuminate: Subscribe for Exclusive Offers and Updates!
© 2025 LUMENGY – Los Angeles, California – All rights reserved

Alfred Kraft –
We are extremely happy with these lights, installation was very easy as we had the 36 feet cable included, we connect it to our existing landscape line and it work immediately.
We got 2 sets, the gold and the brown, we love that we could connect both of them together.
We had a party last night and we got so many compliment on the way these lights look and light. The ring design is so unique that it create a beautiful ambiance atmosphere.
We wanted lights that will not blind you when you stand next to it.
Highly recommended.
Ben Martin –
We connected 3 sets of 6 lights around our deck, little on the high price, but its not the cheap deck i had before.
Glad i give them a chance. We get many compliments.
Andrea Lopez –
We saw these light at a store and we love the way it look, we bought 12 and install them along our patio. We have a white granite gravel, about 1 feet wide along that wall, these light match perfect for our style. Not to bright and not to dark. We get many compliment and the ring light is very nice.
Juan Agave –
What a great lights, installation was very easy, i just drill 12 holes and run the cable under the deck (36 feet cable included – love it). The fast connection was easy, and i just connect the cable to my transformer.
Took me one hour to install 12 lights.
What a big difference, just a perfect balance of lighting.
Very happy.
David Muler –
We install them on our pavers patio.
We love it arrive with 36 feet cable and build in fast connections, make it easy and fast installation for us.
Yes you still need to buy a transformer (but its only $60)
We bought 2 sets and connect them together.
Samantha Piper –
We bought 3 sets, installation was easy and the final results are amazing,
I would give it 5 but the price was more than we wanted to spend.